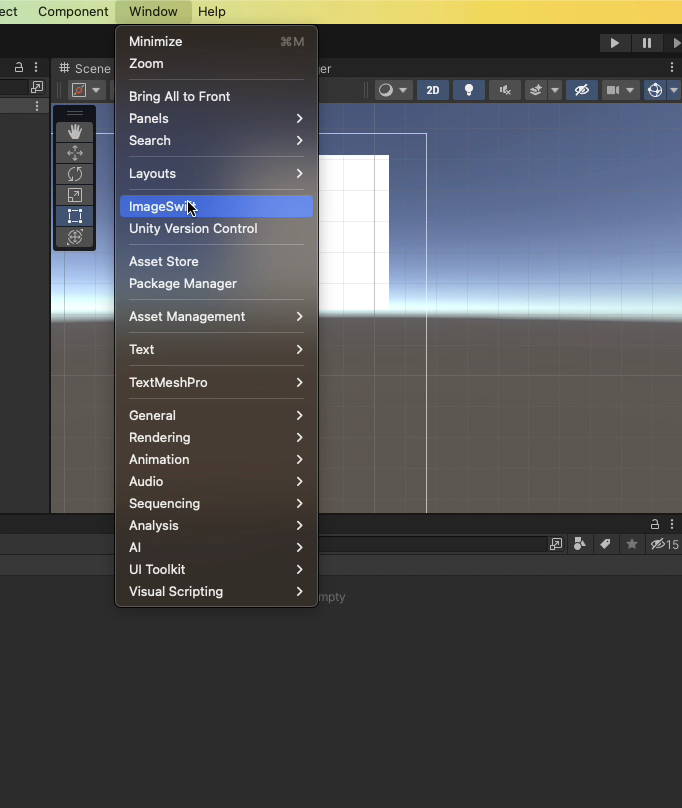
ImageSwift Editor tool
Overview
The ImageSwift Editor tool is a powerful feature that facilitates the seamless integration of images into your Unity project. With this tool, you can effortlessly download images as textures directly to the asset folder and apply them to selected Image/RawImage UI components. The following steps guide you through the process of setting up and using the ImageSwift window within your Unity Editor.
Setting up ImageSwift Window
- Open the Unity Editor.
- Navigate to Window > ImageSwift to access the ImageSwift window.

Downloading Image as Texture
To download an image as a texture directly to the asset folder, follow these steps:
- Enter the image URL in the provided text field named
URL. - Choose a location within your Assets folder. You can choose location using
Change Locationbutton. - Click the
Download Image to Assets folderbutton.
Applying Texture to UI Image/RawImage Component
If you wish to download and apply the image directly to a UI Image/RawImage component, use the following steps:
- Enter the image URL in the designated text field.
- Select the GameObject containing the Image/RawImage component from the Hierarchy.
- In the ImageSwift window, a button labeled Download Image to "selected GameObject name" will be available.
- Click on the button to apply the downloaded image directly to the selected GameObject's Image/RawImage component.
By following these straightforward steps, the ImageSwift Editor tool enhances your workflow, making image integration into Unity projects a smooth and efficient process.